Environment
This section details the set of local and online requirements needed to follow the course, as well as instructions to get set up on your own.
Coding language
This course is primarily designed to introduce Geographic Data Science using Python as the core programming language. All course materials, assignments, and exercises are built with Python in mind, ensuring consistency and clarity throughout the learning process. Python was selected for its versatility, extensive libraries, and widespread use in the Geographic Data Science field, making it an excellent choice for both beginners and advanced users. If you are curious about conducting similar geospatial analyses in R, you can access additional resources here. However, for this course, all work should be completed in Python and following the environment setup that we introduce below.
Reproducing code in this course
To run the analysis and reproduce the code in Python, you will need to set up your Python environment according to the following instructions. Please follow the instructions according to your operating system.
Even if you have used Python before and have set up your own environment, we very much recommend following the set up described below to ensure you can run the code smoothly.
Follow these instructions and test your installation prior to the first session of the course. Setting up the Python environment is necessary for:
Executing the Jupyter notebooks of the sessions of the course.
Preparing your own Jupyter notebooks.
To learn more about Jupyter notebooks, please visit this site.
Set up Python
Installation of Miniconda
Install Miniconda on your personal laptop: Follow the instructions here.
During the installation, leave the default settings. In particular, when asked whom to “Install Miniconda for”, choose “Just for me”.
Set up the Directories
Create a folder where you want to keep your work conducted throughout this course. For example, call it
gds4eco. You can save it wherever you want, but remember to be tidy with your folder structure!Download the data to run and render the Jupyter notebooks. To learn how to download folders from github see the next section named ‘Download data folders from GitHub’.
Unzip the folders and store the nested folders into a subfolder named
datawithin the foldergds4eco.Create another subfolder named
jupyter-notebookswithingds4eco, this is where you will store the Jupyter notebooks for each session.
The folder structure should look like:
gds4eco/
├── data/
└── jupyter-notebooks/
Set up the Python Environment
Download the
gds4eco.ymlfrom GitHub by clicikingDownload raw file, top right at this page.Save it in the folder
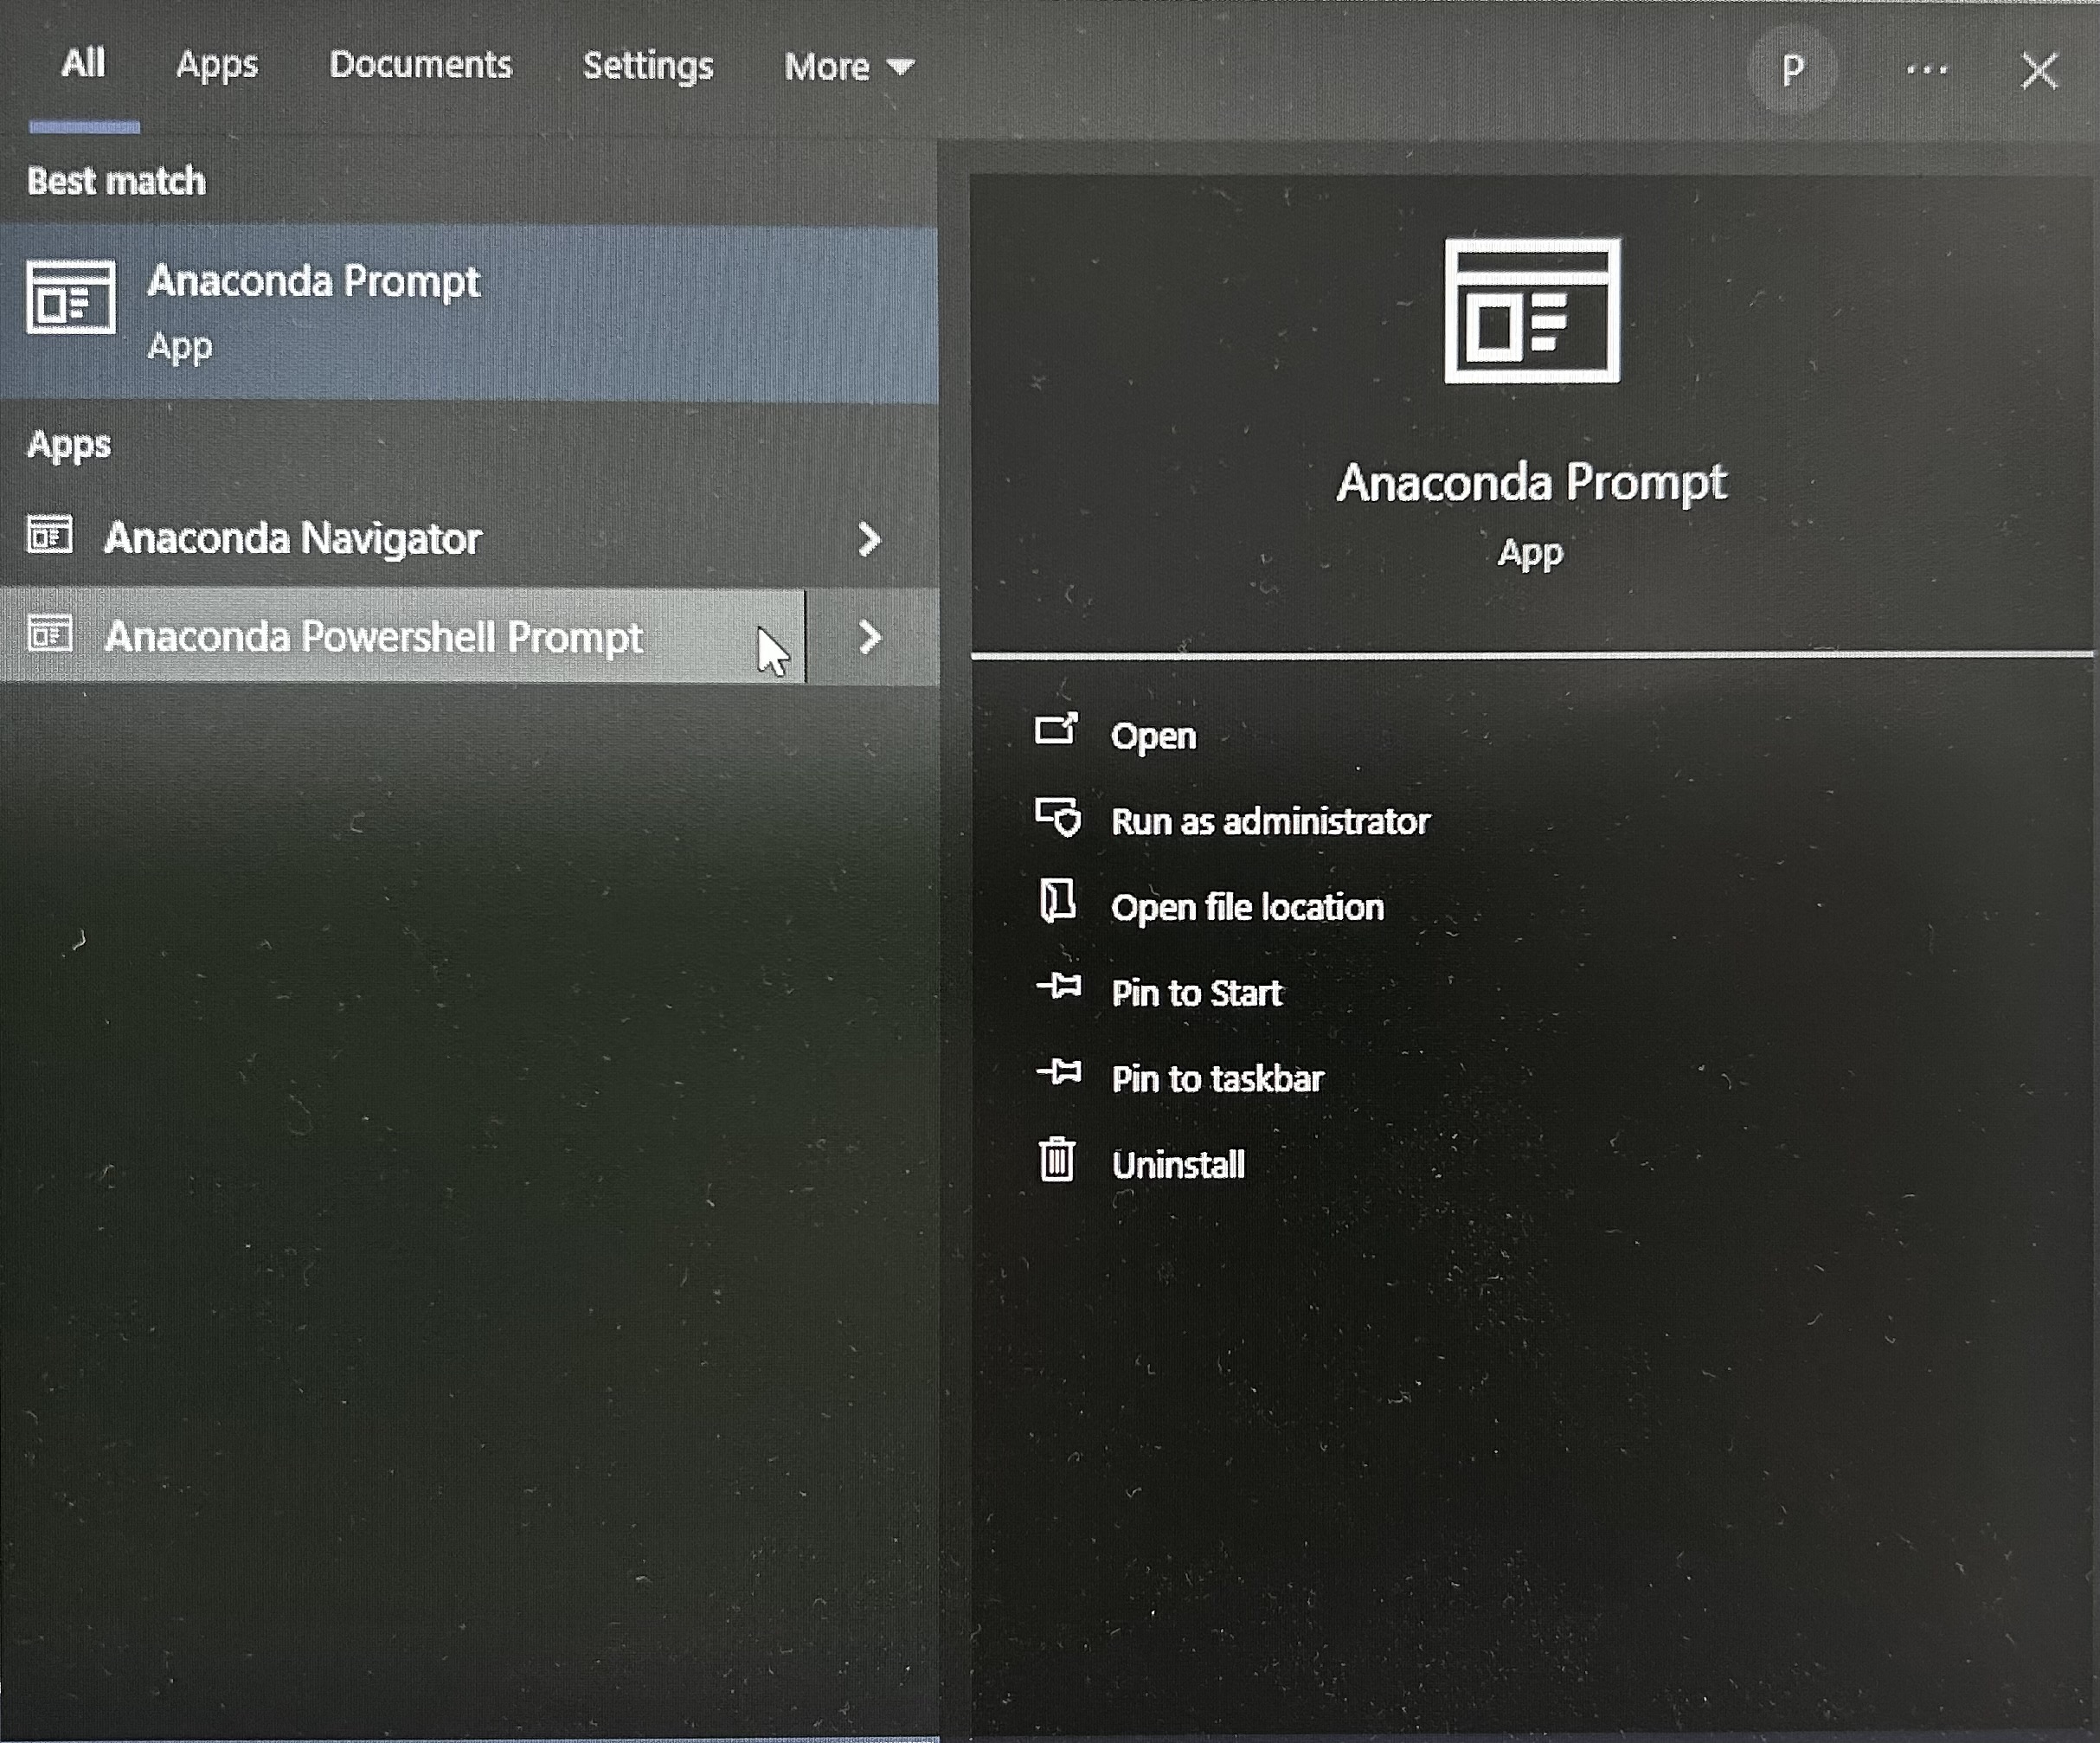
gds4ecocreated before.Type in the search bar and find the
Anaconda Prompt (miniconda 3)in your personal computer. Launch it. The terminal should appear.
- In the Anaconda Terminal write:
conda env create -n gds4eco --file M:\gds4eco\gds4eco.ymland pressEnter; if the file is located elsewhere you’ll need to use the corresponding file path. - If you are prompted any questions, press
y. This process will install all the packages necessary to carry out the lab sessions. - In the Anaconda Terminal write
conda activate gds4ecoand pressEnter. This activates your working environment.
Download the
gds4eco.ymlfrom GitHub by clickingDownload raw file, top right at this page.Save it in the folder
gds4ecocreated before.Type in the search bar and open the Terminal.
In the Terminal write
conda env create -n gds4eco --file gds4eco.ymland pressEnter. This will need to be modified according to where you placed thegds4ecofolder. For example, Carmen has named her foldergds4ecoand it’s in her Documents folder, so intead ofgds4eco.yml, she will writeUsers/carmen/Documents/gds4eco/gds4eco.yml. If Carmen had created thegds4ecofolder on your desktop, the path would beUsers/carmen/Desktop/gds4eco/gds4eco.yml, and so on.If you are prompted any questions, press
y. This process will install all the packages necessary to carry out the lab sessions.
Start a jupyter notebook
Download the Jupyter Notebook of the session from GitHub.
Save the file in the
jupyter-noteooksfolder within yourgeo4ecofolder on your machine.Type in the search bar, find and open the
Anaconda Prompt (miniconda 3).In the Anaconda Terminal write and run
conda activate geo4eco.In the Anaconda Terminal write and run
jupyter notebook. This should open Jupyter Notebook in your default browser.Navigate to your course folder and double click on the notebook that you downloaded.
You can now work on your own copy of the notebook.
Download the Jupyter Notebook of the session from GitHub
Save the file in the
jupyter-notebooksfolder within yourgds4ecofolder on your machine.Type in the search bar, find and open the Terminal.
In the Terminal write and run
conda activate gds4eco.In the Terminal write and run
jupyter notebook.This should open Jupyter Notebook in your default browser.
Navigate to your folder. You can now work on your copy of the notebook.
Py Basics
Please refer to the tutorials from learnpython.org for an introduction to coding in Python. We particularly recommend the tutorials listed under the “Learn the Basics” section.
Resources
Some help along the way with: